
Learn about WordPress Appearance Options
NOTE: The ‘Learn about WordPress Appearance Options’ video tutorial is currently undergoing updates.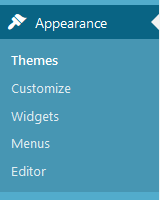
What are WordPress Appearance Options?
The Appearance menu, located within the WordPress Dashboard, contains links which allow a user to access the majority of the options pages which control the public display of your WordPress website. In the sections below I will explain, briefly, the various Appearance options, their purpose, and how to use them.
The information on this page is intended to be an introduction to, and an overview of, the appearance menu options. Depending on your active WordPress theme, active plugins, or any customizations which may have been performed, this information may be inaccurate or incomplete. It is recommended that you review your theme and plugins documentation for further instruction.
Appearance > Themes Options
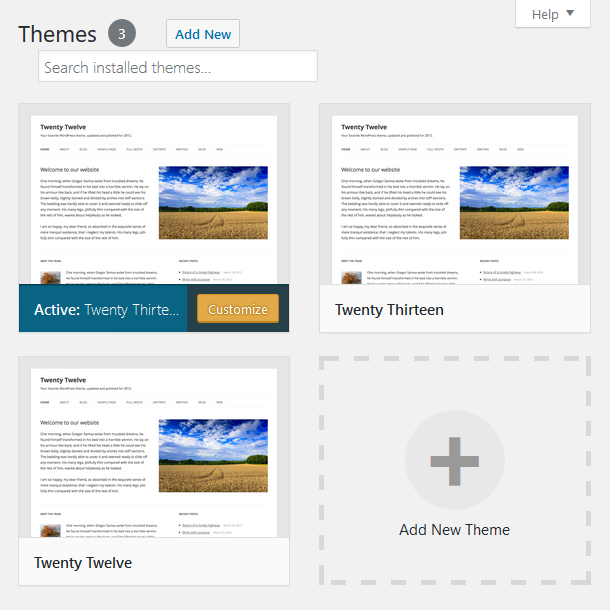
WordPress Appearance Options: Theme
(Click for larger image)
The WordPress Theme Options page, accessible via Appearance > Themes, allows the user to add and manage WordPress themes. The currently active theme is indicated by a blue footer below the theme’s screenshot which contains the word Active. When hovering over the other theme screenshots the user is presented with Theme Details, Activate, and Live Preview links.
Theme Details: When clicked the corresponding theme’s details are displayed. This includes version, author, as well as other information.
Activate: If clicked, the corresponding theme will become active, replacing the currently active theme.
Live Preview: Loads the WordPress Customizer with the corresponding theme, displaying a preview of what the front-end of the website would look like if that specific theme were to be activated.
Appearance > Customize
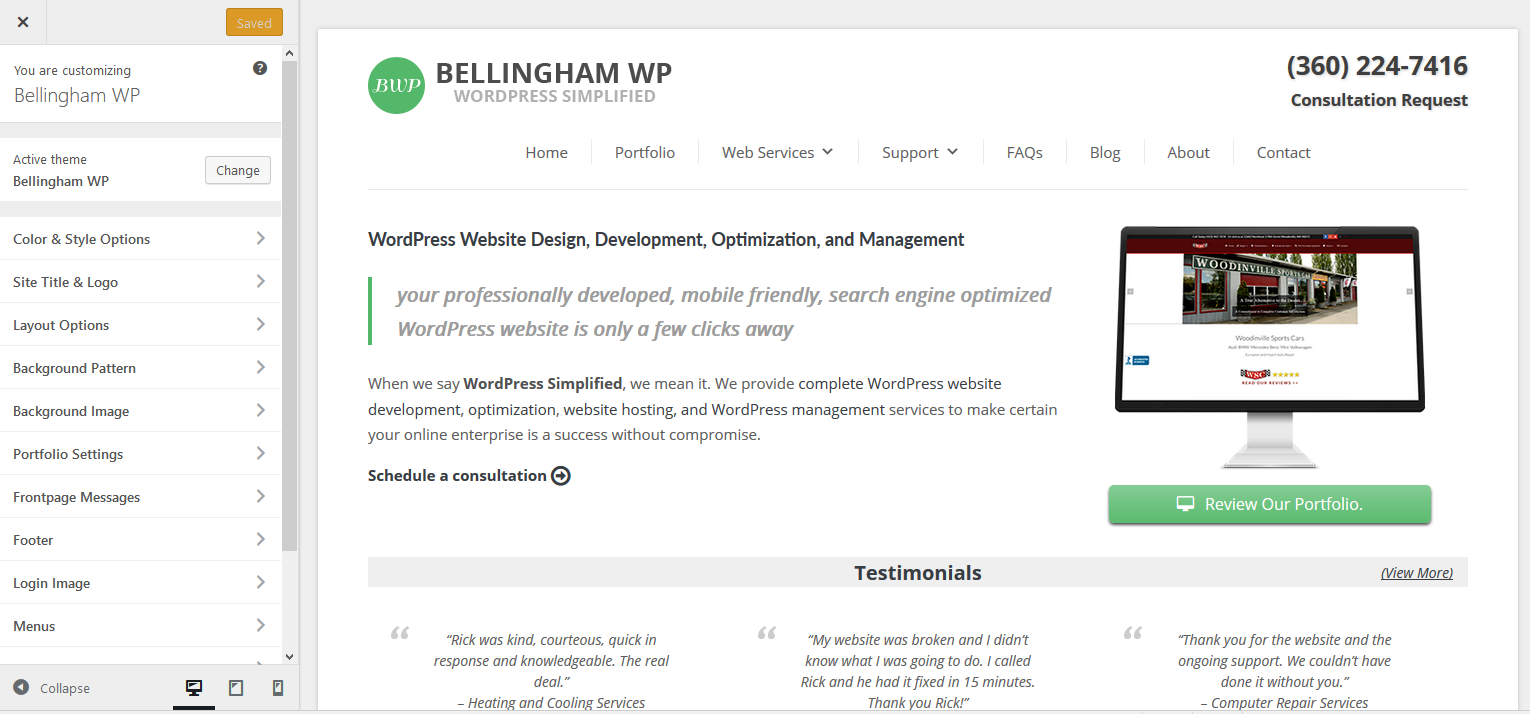
WordPress Appearance Options: Customize
(Click for a larger version)
The WordPress Customizer, accessible via Appearance > Customize, displays a preview of the currently active theme along with a series of options which impact the website’s design in multiple different ways. The customizer is used by some premium themes as the theme’s options panel. This means that, if you want to modify a premium theme’s settings and you do not see a link to a theme panel, you should consider checking the options available within the customizer.
Appearance > Widgets
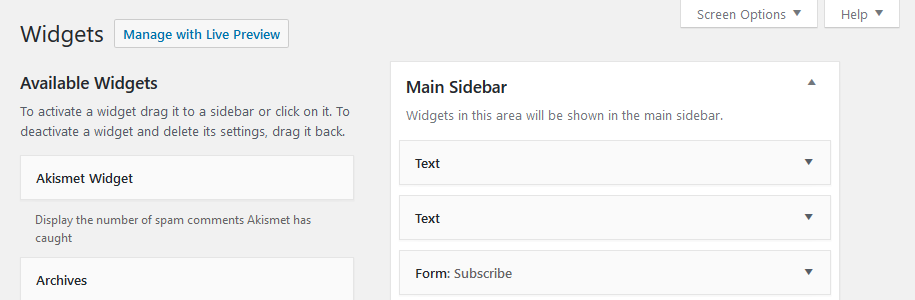
WordPress Appearance Options: Widgets
The Widgets section, accessible via Appearance > Widgets, will allow the user to manage the widgets the currently active theme’s sidebars contain along with their contents. Widgets are dragged from the left-hand side of the screen and dropped into an existing sidebar on the right-hand side of the screen for them to display. The widgets can be arranged into any order by dragging and dropping. Their individual options can be viewed and modified by clicking the right-aligned downward facing arrow. When editing is complete it is important to remember to click the ‘Save’ button at the bottom of the widget’s options panel.
Additional sidebars can be added by modifying the theme’s functions.php file, or by making use of a plugin. New widgets can also be added via WordPress plugin installation and activation.
Appearance > Menus
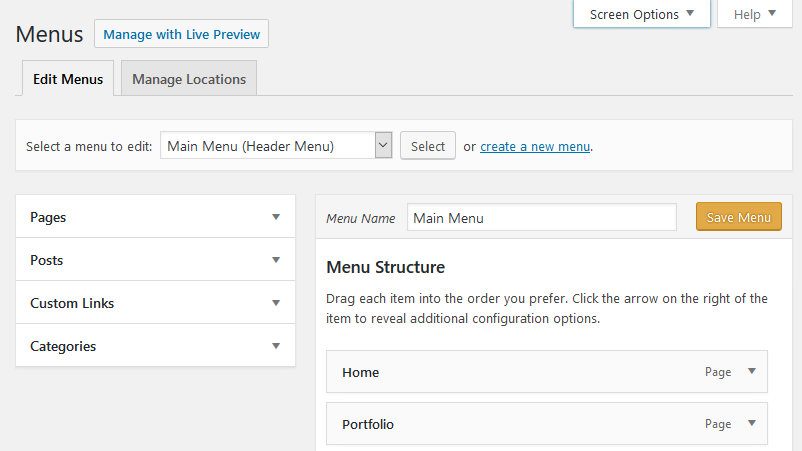
WordPress Appearance Options: Menus
The Menus configuration screen, accessible via Appearance > Menus, allows the user to create and manage menus for the WordPress theme to display. Once a menu is created, pages, posts, categories, tags, and numerous other content types can be added to the menu. As with widgets, plugins can add new custom post types which, if configured to do so, can allow you to add them to a menu.
How to add a page to a menu
Firstly, you must create a menu which will hold the pages. To do this click the Create a new menu link and follow the on-screen directions. Once created, items can be added to the menu by first locating the item on the left-hand side of the menus screen, placing a check mark in its corresponding check box, and then clicking the Add To Menu button. Finally the menu must be added to a location configured within the theme to display menus. To do this, after the menu has been saved, click on the Manage Menus tab, assign your menu to the desired location, and click the Save Changes button.
To change a menu items options click its corresponding arrow, make your desired modifications, and click the Save Menu button. The Navigation Label option will change the name of the link as it displays in the menu independent of the page’s actual title.
To modify the order in which the items in the menu appear, simply click and drag the item to a new location. To create a sub-menu, which will display as a drop-down menu on the front-end of the website so long as the theme is configured to do so, click an item which is below another item and drag it to the right. You will see a dashed outline showing the item’s new location, which should be inset from it’s parent (the item above it). When this is done, saved, and viewed publicly, the sub-menu will display below the parent item in the navigation menu.
Appearance > Editor

WordPress Appearance Options: Editor
The Editor, accessible via Appearance > Editor from within the WordPress Dashboard, allows the user to make edits directly to theme files and templates. This is a very handy and useful option for modifying the theme’s style.css file to add, remove, or modify existing CSS rules. One limitation of this Editor, however, is the fact that the user is not able to access any files located inside directories within the theme’s folder itself. Only top-level files can be edited.
To use the Editor, begin by selecting the appropriate theme from the upper-right hand drop down menu. This option should default to the currently active theme, but it is important to confirm before proceeding with edits. Once the proper theme has been selected, locate the file you intend on editing in right-hand list and click it. The files’ contents will be loaded into the editor for modification. Once modifications are complete, click the Update File button at the bottom of the screen.
A WORD OF CAUTION: If a file’s modification creates a PHP error, the editor may not reload upon save. It is important to confirm FTP access to the website’s host prior to making modifications via the editor so that any issues which arise can be rectified promptly.